Lightroom at the center of your web presence – Part 3

20160925_0104.jpg

In Part 1 and Part 2 I discussed how I set up this website so I can easily manage my photos through Lightroom

In this final part, i want to tell you about how i manage my social media through Lightroom

I have accounts through Flickr, Facebook, and Instagram. I also have a Twitter account, but that is handled indirectly and I will explain that later on in this post.

Lightroom comes with a Publish plug-in for both Flickr and Facebook, but I use plug-ins from Jeffrey Friedl for Flickr and Facebook. The plug-in for Instagram is from Capture Monkey

I have all my social media collections / albums in Lightroom set up as Publish services using normal collections rather than smart collections and just drag and drop to publish. All of these plug-ins have an Export function that would let me just export to the sites without having to separately log-into each site and upload the photos.

The reason I use the Publish function is that I can then keep a running account of what I have published on my social media sites through Lightroom. I can right click and Select Go to Collection to see which social media accounts that photo appears in. I have also set up Smart Collections that show which photos / versions have been published in each site.

Now with Facebook, you have to keep in mind that you actually cannot republish photos if you update them. You would have to delete them and then publish as new, but you lose all the comments and the likes for that photo.

The Instagram plug-in cannot update the photos due to the way Instagram itself works, but you can republish to update hash tags and captions.

I mentioned that I publish indirectly to Twitter. What that means is that I am not sending out images as tweets from Lightroom.

What I have done is use IFTTT (If This Then That) to put out a tweet whenever I publish a photo to Instagram or when I publish a new post on this site.

One other thing i do is that I carry my portfolio on my smart phone and a tablet. While not exactly a social media service, it is a form of sharing.

If you look back at Part 1, you will see that I organized my portfolio galleries on this web site using keywords (gallery_*) and smart collections with the NextGEN Gallery plug-in

For getting my photos on my portable devices, I am using another plug-in from Jeffrey Friedl called Collection Publisher

I then set up smart collections under the Collection Publisher service using the same setting as I used in NextGen Gallery Publish service. The Collection Publisher outputs to a folder on my PC which is synced automatically to a folder on the Amazon Web Service (AWS). On my Android devices, I have an app called FolderSync that then syncs the files from AWS to the device automatically.

I hope you found the information useful and has given you some ideas of how to use Lightroom to effectively manage your photos on your web site, your social media and your smart phone. If you have questions please contact me

The photo at the top is a black light experiment with Paige Russell

Lightroom at the center of your web presence – Part 2

20060708_0046.jpg

In Part 1 I presented how I manage my portfolio galleries on this website through Lightroom. In this post I am going to cover the front page gallery and photos in the blog posts

The front page gallery is the one you see when you first go to www.src-imaging.com. It is what I would call a virtual gallery, as these are photos selected from the other galleries.

The gallery_Front_Page keyword is set to export (Include on Export is checked) and appears as a tag on my WordPress site. I use a Nextgen Gallery Basic Slideshow Gallery  that selects images that have the gallery_Front_Page tag. So to update what is shown on the front page, I simply add or remove the gallery_Front_Page keyword in Lightroom and publish the photos to WordPress from Lightroom

For posts on my blog like this one I have a keyword format post_{YYYYMMDD} (Year, Month, Day). These keywords are also set to export (Include on Export is checked) and appear as tags in WordPress. In the post, I use a Nextgen Gallery Basic Slideshow Gallery  that selects images that have the post_* tags for that particular post and have set the slide show to not automatically run so it appears as a static image with the Show Thumbnails to allow you to see all the related images and click through them manually. They get organized with a gallery_Post_Only_{YYYY} keyword and into a smart collection for that keyword like all the other galleries on the WordPress site, but these Post Only galleries are not shown through a gallery page, unlike the gallery_Belly_Dance gallery example from Part 1. The images are all managed through Lightroom, but i do log on to WordPress to create and publish the posts like this one.

In Part 3 i will be covering what I use in Lightroom to manage my photos on portfolio on my portable devices, Facebook, Flickr, and Instagram

The the model in the photo at the top is Marianne with a 1987 Alfa Romeo Quadrifoglio

Lightroom at the center of your web presence – Part 1

20090924_HDR_0000.jpg
Rosh Sillars talks about your web site as the center of your Social Media Solar System Plan

I see my use of Lightroom as an extension of this idea.

When I first started using digital technology in my photography, finding an efficient way to manage and publish images became a project in and of itself.

I built my earliest website from the ground up using a product called ThumbsPlus to manage the images and then use the database to display images on the web

I was even using my own linux server I had built myself to learn web coding.

I eventually realized that was way too much work and I started using Lightroom to manage my photos.

In 2010 I found a plug-in for Lightroom that let me post images to WordPress galleries.
In WordPress i am using the Nextgen Gallery Plugin
In Lightroom I am using the NextGEN Gallery Export by AlloyPhoto

Check out this post on Publishing with the Lightroom Plugin
I am using a keyword format of gallery_{Gallery_Name}
So for photos in my Belly Dance gallery I have a keyword gallery_Belly_Dance assigned to them. These keywords are set up to not export (Include on Export is unchecked) so they are only used within Lightroom. See Use Keywords on adobe.com for more information on using keywords in Lightroom

I set up smart collections in the NextGEN Gallery Export in Lightroom for each of my gallery_* keywords to go into a photo gallery on my WordPress website. All I then do is publish the collection in Lightroom and the photos are sent to WordPress.

Each gallery in WordPress is on it’s own page and the page contains only a Nextgen Gallery Basic Slideshow Gallery  pointing to it’s relevant gallery. If I make changes to the the existing photos, the WordPress gallery is automatically updated once i have published from Lightroom. To add or remove photos from the gallery, I just add or remove the relevant gallery_* keyword in Lightroom and republish the gallery to make changes on the WordPress website, without having to log into WordPress at all. It is all managed in Lightroom.

Check this tutorial on Lightroom Publishing for more information

In my next post I will go through how I manage the images for the front page and posts on the site with Lightroom

The picture at the top is a multi-exposure HDR done in Lightroom at the Saville Dam in Barkhamsted, Connecticut.

The best camera is the one you have with you.

LRM_20160901_174147-2.jpg

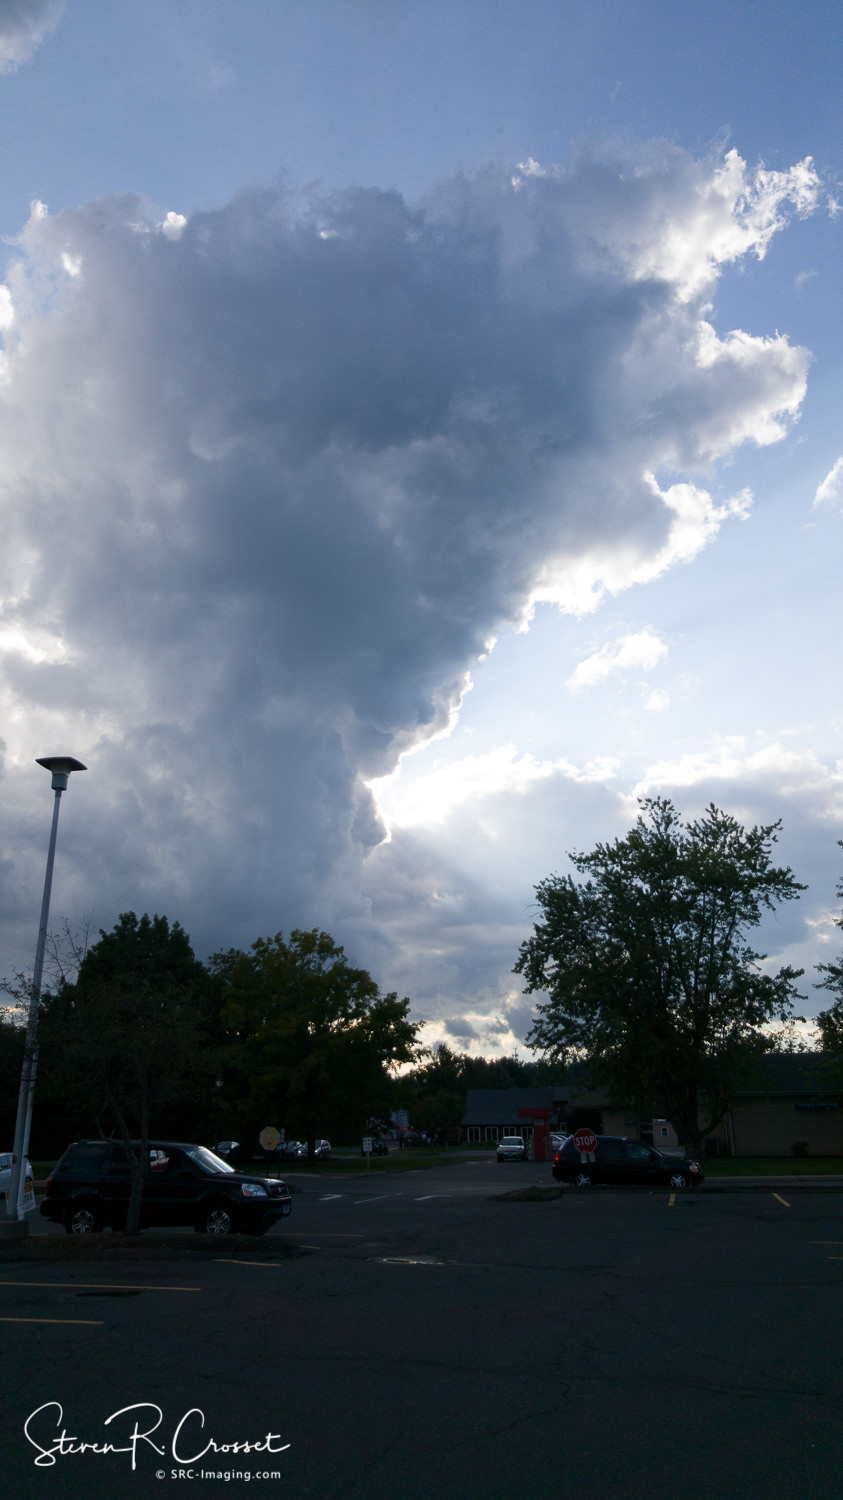
The title is a phrase that came to mind recently. I had just come out of my local grocery store when I saw the cloud formation you see in the photo
I pulled out my smartphone (currently the Samsung Note 5), launched the Adobe Lightroom Mobile camera app, composed and made the photo.
Well, I started the process at that point.
Here is what it started out as from the camera.

LRM_20160901_174147.jpg

I’ve been playing around in Lightroom mobile since I saw this presentation by Elia Locardi on YouTube.
The photo was captured in Lightroom Mobile as a RAW DNG (Digital Negative) which captures a great deal of information.
Since I have a subscription to Adobe Lightroom / Photoshop, the image was then sent up to the Adobe cloud.
When I got home, logged onto my desktop and opened Lightroom desktop, there was the photo, waiting to be further processed.
The Note 5 does not have a zoom lens, so the “zoom” I had done on the phone was basically a crop, that the Lightroom camera app put in the file information, so Lightroom desktop showed what I wanted to zoom in on.
I got the image close to what I saw in Lightroom, then brought it into Photoshop to put the finishing touches on it. Once I was done in Photoshop, it came back into Lightroom. In Lightroom, I can publish directly to my website without having to export the file to a hard drive, then log into the website and then upload the file.
So throughout the process I did not have to move files around at all. Everything was managed in Lightroom.